
To crochet a hat, you will need a crochet hook, yarn, and knowledge of basic crochet stitches. Start by creating a foundation chain and then work in rounds until the hat reaches your desired length.
Crocheting a hat is a fun and rewarding project for beginners and experienced crocheters alike. Not only can you customize the colors and style to suit your preferences, but you can also create hats for yourself, friends, and family. Whether you want a warm winter hat or a stylish sun hat, crochet offers endless possibilities.
We will guide you through the steps of crocheting a hat, from selecting the right materials to finishing off your project. So grab your crochet hook and let’s get started!
Credit: www.mamainastitch.com
Introduction To Crocheting Hats
Learn how to crochet a hat with our beginner-friendly guide. From selecting the right yarn to mastering basic stitches, you’ll be on your way to creating stylish and cozy hats in no time. Whether you’re making a gift or treating yourself, crochet hats are a fun and rewarding project for crafters of all levels.
The Joy Of Handmade Accessories
Crocheting is a relaxing and creative hobby that allows you to make unique and beautiful accessories for yourself or as gifts for your loved ones. One of the most satisfying crochet projects is making a hat. It is a perfect beginner project that can be completed within a few hours. With just a few basic techniques, you can create a stylish and warm hat that fits your style and personality.
Benefits Of Starting With A Hat
Crocheting a hat is a great way to start your crochet journey. It requires minimal investment in terms of time, effort, and materials. Moreover, it is an excellent way to practice basic crochet techniques such as chain stitch, single crochet, double crochet, and increasing and decreasing stitches. Once you master these techniques, you can apply them to more complex projects such as scarves, sweaters, and blankets. Crocheting a hat also allows you to experiment with different yarns, colors, and patterns to create a unique and personalized accessory. If you are new to crocheting, starting with a hat is a great way to get started. It is a simple and enjoyable project that can help you build your skills and confidence. With just a little bit of practice, you can create beautiful and functional hats that you can wear with pride. So, grab your crochet hook and yarn and get ready to start your crocheting journey with a fun and easy project – a handmade crochet hat.
Materials You’ll Need
Before you begin crocheting a hat, it’s important to gather all the necessary materials. Having the right yarn, crochet hooks, and additional tools will make the process much smoother and ensure a successful outcome. In this section, we’ll guide you through choosing the right yarn, understanding different types of crochet hooks, and exploring additional tools and accessories that will come in handy during the crochet hat-making journey.
Choosing The Right Yarn
When it comes to selecting the yarn for your crochet hat, it’s essential to consider the weight, fiber content, and color. The weight of the yarn determines the final size and warmth of the hat. Bulky yarn creates a chunkier and warmer hat, while lightweight yarn produces a more delicate and breathable result. Pay attention to the fiber content as well, as different fibers offer varying levels of softness, durability, and stretchiness.
Here are some popular yarn weights suitable for crocheting hats:
| Yarn Weight | Recommended Hook Size (mm) | Common Uses |
|---|---|---|
| Fingering | 2.25 – 3.5 | Lightweight, lacy hats |
| Worsted | 4.5 – 5.5 | Medium-weight hats for everyday wear |
| Bulky | 6.5 – 9 | Chunky, cozy hats for colder climates |
Remember to choose a color that suits your personal style and complements the intended recipient’s preferences, if the hat is a gift. Don’t be afraid to get creative and experiment with different color combinations!
Types Of Crochet Hooks
Crochet hooks come in various sizes and materials, each suitable for different yarn weights and stitch techniques. The size of the crochet hook determines the size of the stitches and the overall tension of your hat. It’s crucial to use the correct hook size recommended for your chosen yarn weight to achieve the desired gauge.
Here are some commonly used crochet hook sizes and their corresponding uses:
- Size E (3.5mm): Ideal for lightweight yarn and fine, detailed stitches.
- Size G (4mm): Suitable for medium-weight yarn and standard crochet projects.
- Size I (5.5mm): Great for bulky yarn and creating thicker, warmer stitches.
Experiment with different hook sizes to find the one that works best for you and creates the desired fabric texture for your hat.
Additional Tools And Accessories
While yarn and crochet hooks are the main components, there are a few additional tools and accessories that can enhance your crocheting experience and help you achieve professional-looking results.
Here are some useful tools and accessories to consider:
- Tapestry needles: Used for weaving in loose ends and sewing parts of the hat together.
- Stitch markers: Help identify specific stitches or sections in your pattern.
- Scissors: Essential for cutting yarn and trimming loose ends.
- Measuring tape: Ensures accurate sizing and stitch counts.
Having these additional tools at your disposal will make the crochet hat-making process more efficient and enjoyable.
Understanding Basic Crochet Stitches
Learn the essential crochet stitches to create a cozy hat. Master the basic stitches, including single, double, and half-double crochet, for a perfect hat-making experience. Understanding these stitches is the key to crocheting a stylish and comfortable hat.
Understanding Basic Crochet Stitches Crocheting a hat can be a fun and rewarding project, but it’s essential to have a good understanding of the basic crochet stitches before you begin. In this section, we’ll cover the slip knot and chain stitch, single and double crochet, as well as how to increase and decrease stitches. By mastering these fundamental stitches, you’ll be well-equipped to create beautiful hats and explore more complex crochet patterns. The Slip Knot and Chain Stitch To start any crochet project, you’ll need to create a slip knot. This knot acts as the foundation for your stitches and allows you to easily adjust the tension of your work. To make a slip knot, follow these steps: 1. Create a loop with your yarn, making sure the working end is on top. 2. Insert your crochet hook through the loop from front to back. 3. Catch the working end of the yarn with your hook and pull it through the loop, creating a new loop on your hook. 4. Tighten the slip knot by pulling the working end of the yarn. Once you have your slip knot ready, you can move on to the chain stitch. The chain stitch serves as the base for most crochet patterns and helps to create the height and width of your project. To make a chain stitch, follow these steps: 1. Hold the crochet hook in your dominant hand, with the slip knot loop on the hook. 2. Yarn over by bringing the working end of the yarn over the hook from back to front. 3. With the yarn over the hook, pull it through the slip knot loop, creating a new loop on your hook. 4. Repeat steps 2 and 3 to create additional chain stitches. Single and Double Crochet Once you’ve mastered the chain stitch, you can move on to single and double crochet stitches. These stitches are the building blocks of most crochet patterns and allow you to create different textures and patterns in your work. To make a single crochet stitch, follow these steps: 1. Insert your crochet hook into the next chain stitch. 2. Yarn over and pull the yarn through the chain stitch, creating two loops on your hook. 3. Yarn over again and pull the yarn through both loops on your hook, completing the single crochet stitch. To make a double crochet stitch, follow these steps: 1. Yarn over and insert your crochet hook into the next chain stitch. 2. Yarn over and pull the yarn through the chain stitch, creating three loops on your hook. 3. Yarn over again and pull the yarn through the first two loops on your hook, leaving two loops. 4. Yarn over once more and pull the yarn through the remaining two loops on your hook, completing the double crochet stitch. How to Increase and Decrease Stitches Increasing and decreasing stitches is essential for shaping your crochet hat. These techniques allow you to add or remove stitches to achieve the desired size and fit. To increase stitches, follow these steps: 1. Identify the stitch where you want to increase. 2. Insert your crochet hook into the stitch and make a single crochet stitch as usual. 3. Without completing the stitch, insert your hook back into the same stitch. 4. Yarn over and pull the yarn through, creating two loops on your hook. 5. Yarn over again and pull the yarn through both loops, completing the increased stitch. To decrease stitches, follow these steps: 1. Identify the stitches you want to decrease. 2. Insert your crochet hook into the first stitch and make a single crochet stitch as usual. 3. Instead of completing the stitch, insert your hook into the next stitch. 4. Yarn over and pull the yarn through both stitches, creating two loops on your hook. 5. Yarn over again and pull the yarn through both loops, completing the decreased stitch. Understanding these basic crochet stitches will give you a solid foundation for crocheting a hat. With practice, you’ll be able to create hats of various sizes and experiment with different stitch patterns to add your personal touch. So grab your crochet hook and yarn, and let’s get started on your hat-making journey!
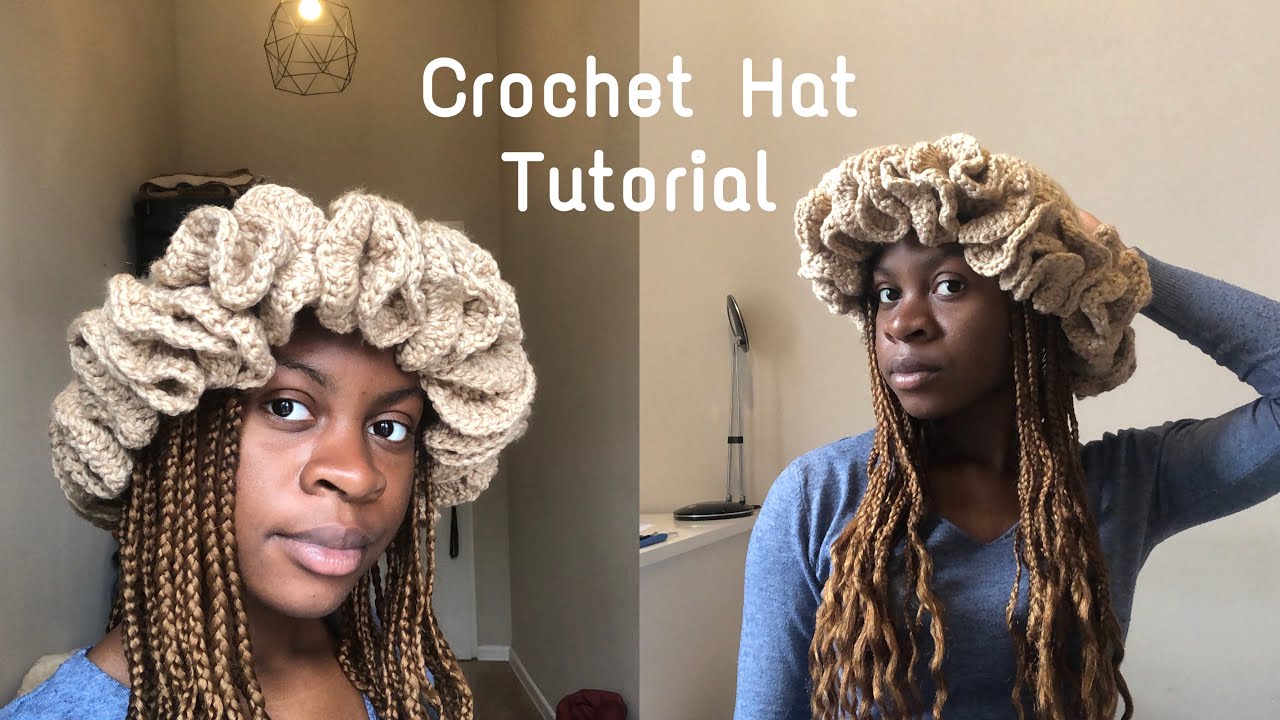
Credit: www.youtube.com
Reading A Crochet Pattern
When it comes to crochet, reading a pattern is an essential skill to master. Patterns provide the step-by-step instructions needed to create beautiful and intricate designs. However, deciphering symbols and abbreviations, as well as interpreting pattern instructions, can sometimes feel like unraveling a mystery. In this section, we will break down the process of reading a crochet pattern, making it easier for you to bring your hat creations to life.
Deciphering Symbols And Abbreviations
One of the first challenges you may encounter when reading a crochet pattern is deciphering the symbols and abbreviations used. Crochet patterns often use a combination of symbols and abbreviations to represent specific stitches and techniques. Understanding these symbols and abbreviations is crucial for following the pattern accurately.
Here are some common symbols and abbreviations you may come across:
| Symbol/Abbreviation | Meaning |
|---|---|
| ch | chain stitch |
| sc | single crochet |
| dc | double crochet |
| hdc | half double crochet |
| sl st | slip stitch |
| repeat the instructions |
By familiarizing yourself with these symbols and abbreviations, you’ll be able to understand the instructions more easily and work through the pattern with confidence.
Interpreting Pattern Instructions
Once you have deciphered the symbols and abbreviations, the next step is to interpret the pattern instructions. Pattern instructions typically outline the specific steps and techniques required to complete each section of the crochet hat.
Here are some tips for interpreting pattern instructions:
- Read the instructions carefully, paying attention to any special stitches or techniques mentioned.
- Break down the instructions into smaller steps to make them more manageable.
- Visualize each step in your mind before starting, ensuring you understand the sequence of stitches.
- Refer back to the stitch symbols and abbreviations as needed to clarify any unfamiliar terms.
Remember, practice makes perfect when it comes to reading crochet patterns. The more patterns you work on, the more comfortable you will become with understanding and interpreting the instructions.
Getting Started With Your Hat
When it comes to creating your own cozy and stylish crochet hat, getting started with the right techniques is key. In this guide, we’ll walk you through the initial steps of creating your very own crocheted hat, from creating a magic ring to working in the round. Let’s dive in and get started on this exciting crochet project!
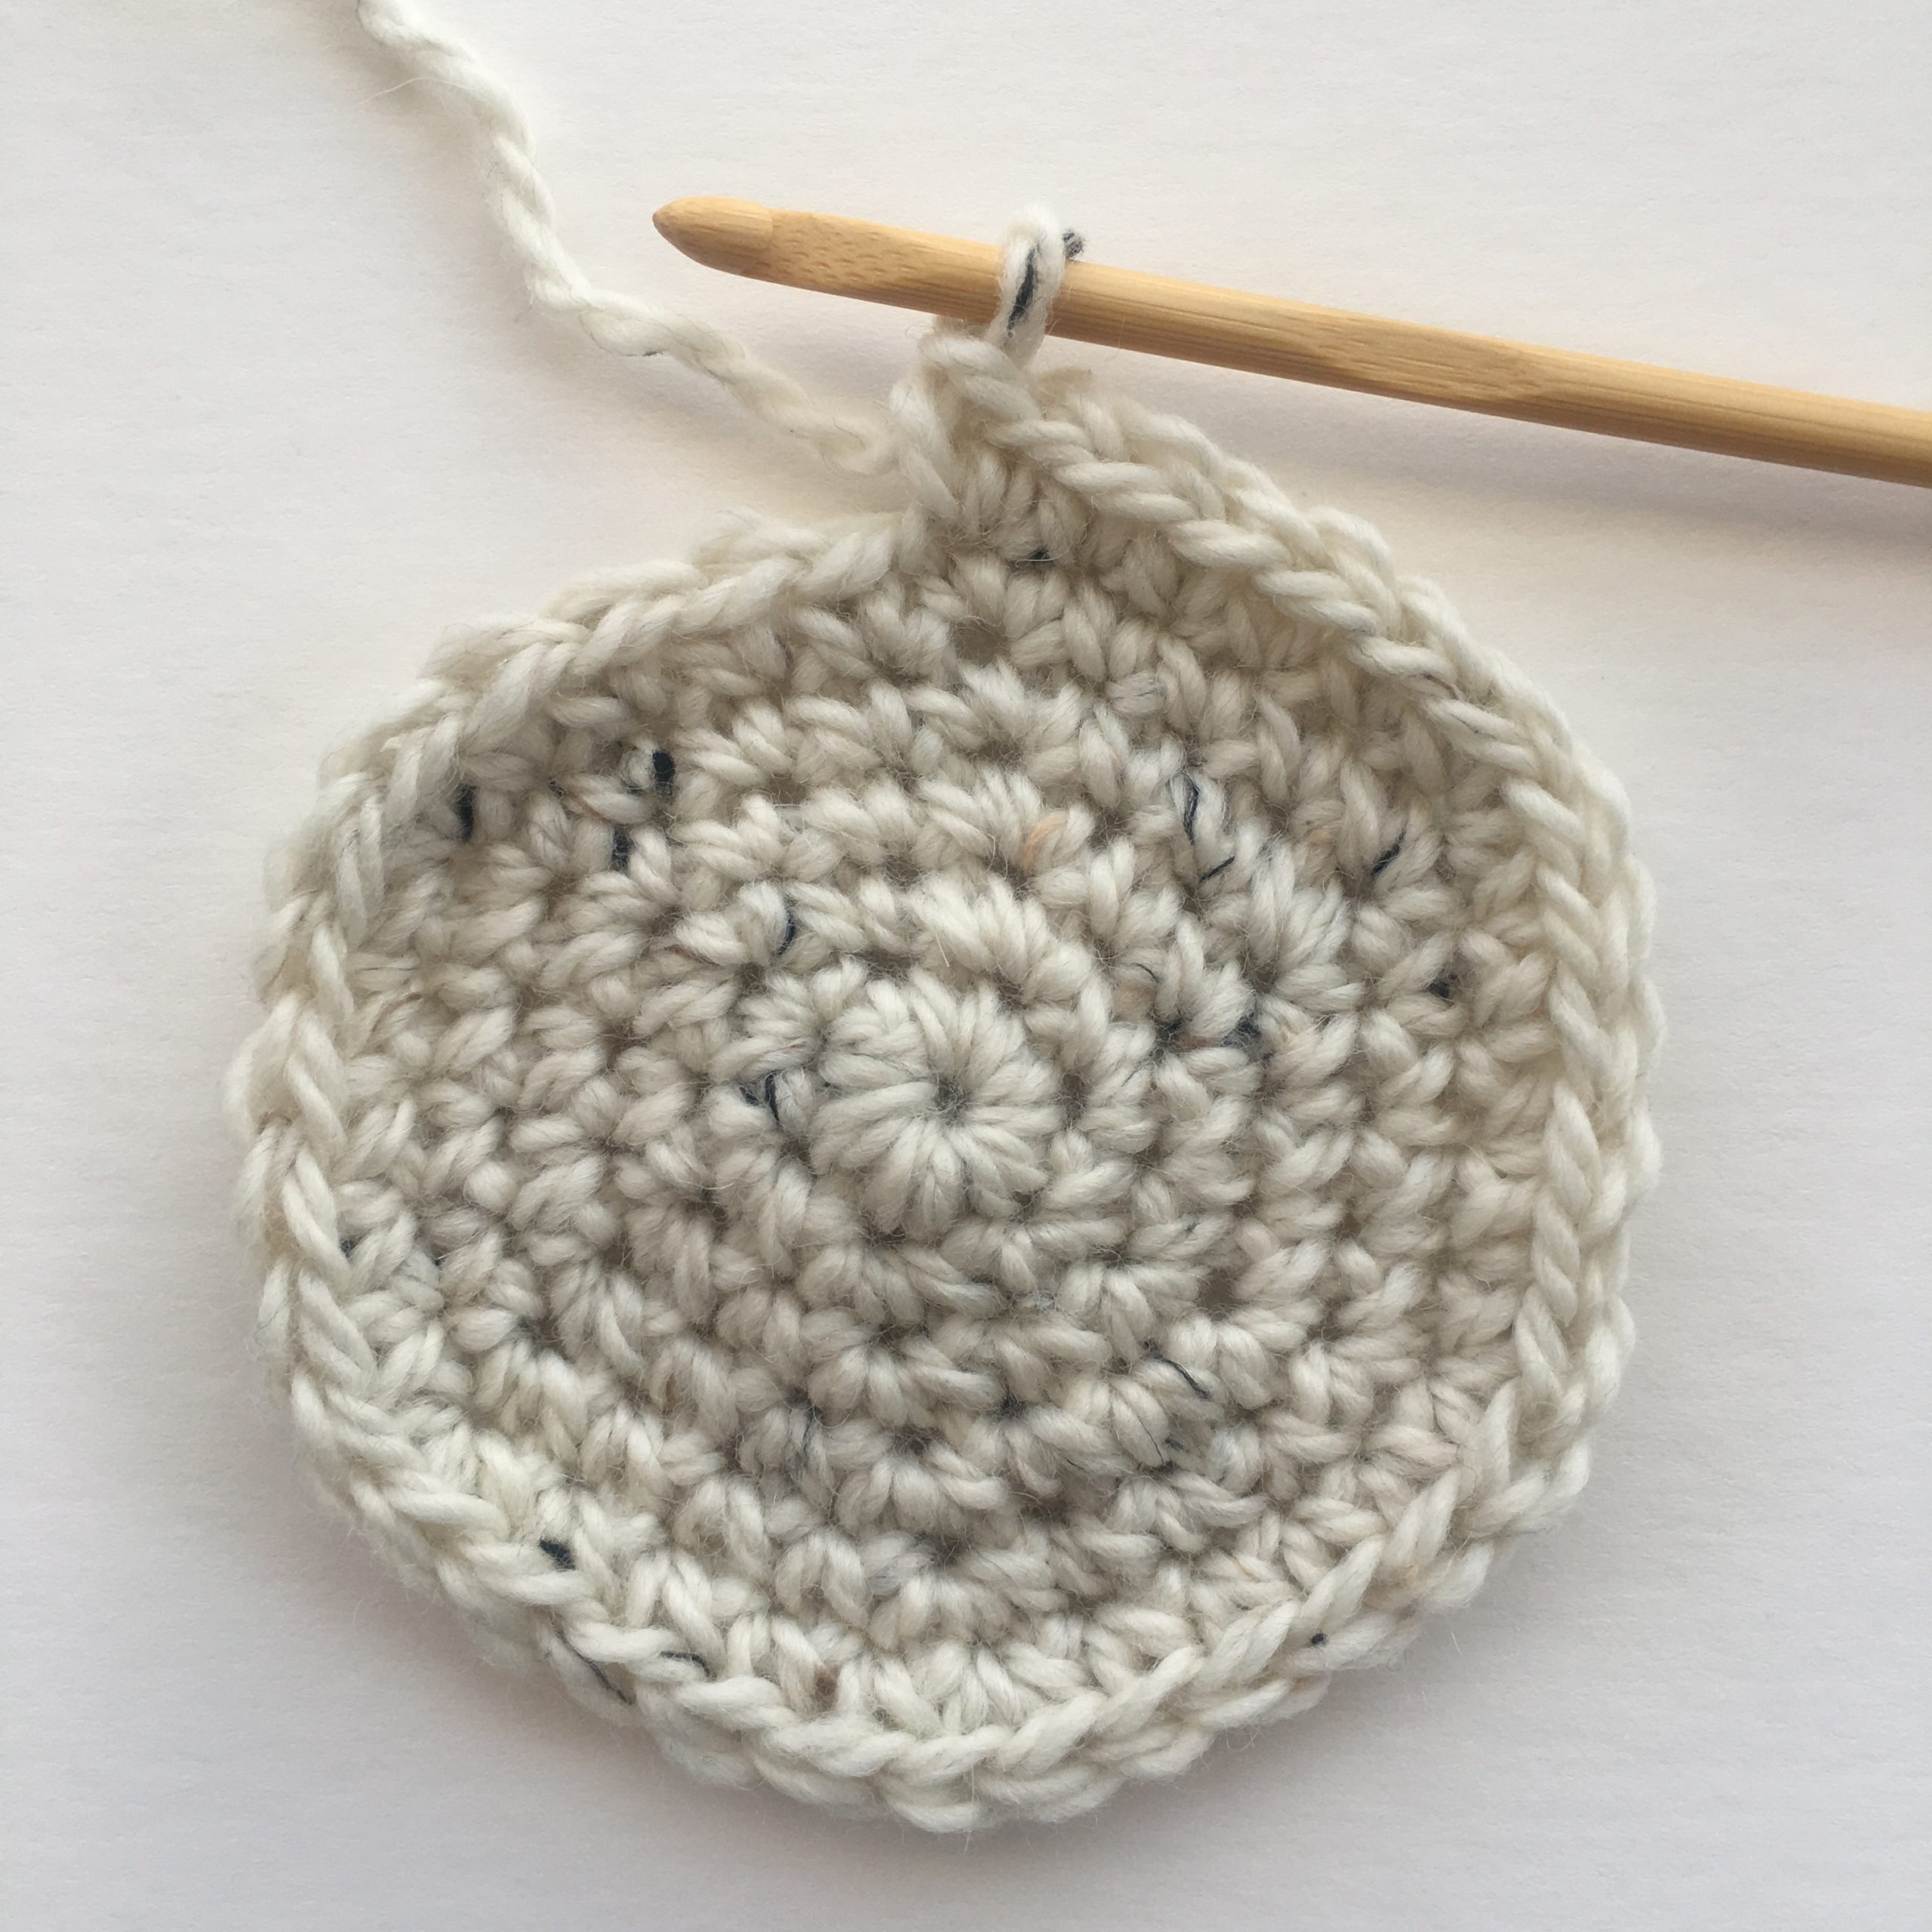
Creating A Magic Ring
A magic ring is a simple and effective way to start crocheting in the round. This technique allows you to create a tightly closed center for your hat, ensuring a seamless and professional finish. To create a magic ring:
- Gather your yarn and wrap it around your fingers to create a loop.
- Insert your hook through the loop, yarn over, and pull up a loop.
- Chain one to secure the loop, and then begin crocheting your stitches into the ring.
Working In The Round
Once you’ve created your magic ring, it’s time to start working in the round to build the body of your hat. Working in the round allows you to seamlessly crochet in a continuous spiral, eliminating the need for unsightly seams. To work in the round:
- Insert your hook into the magic ring and begin crocheting your first round of stitches.
- Continue to work in a spiral, adding increases as needed to gradually build the circumference of your hat.
- Use a stitch marker to keep track of your rounds and ensure an even and consistent shape.
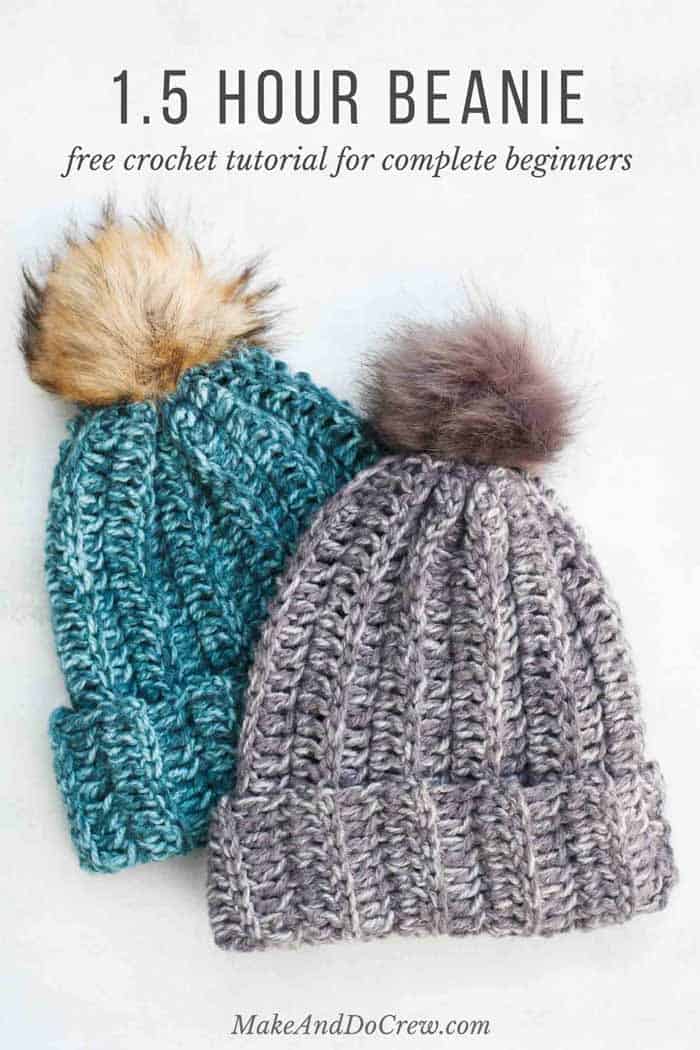
Credit: makeanddocrew.com
Shaping The Hat
When it comes to crocheting a hat, shaping the hat is a crucial step that determines the overall look and fit of the finished product. Properly shaping the hat involves forming the crown, crocheting the body, and adding the brim.
Forming The Crown
To start shaping the hat, begin by decreasing the stitches gradually to form the crown. This is typically achieved by crocheting two stitches together at regular intervals. Use a stitch marker to keep track of the beginning of each round to maintain the pattern.
Crocheting The Body
Once the crown is formed, continue crocheting the body of the hat in the desired stitch pattern and color. Ensure to maintain the correct stitch count to achieve the intended size and shape. Consider using a thicker yarn or a combination of different stitches to add texture to the hat.
Adding The Brim
Finally, adding the brim completes the shaping process. This can be achieved by crocheting a few additional rounds in a contrasting color or by attaching a pre-made brim. Alternatively, you can fold the edge of the hat to create a simple and clean finish.
Customizing Your Hat
Adding Color And Texture
Choose bright yarn for a pop of color. Mix different textures for a unique look.
Personalizing With Embellishments
Sew on buttons or beads for a touch of elegance. Pom-poms add a fun flair.
Finishing Touches
When you’ve finished crocheting your hat, it’s time to add the final touches that will really make it shine. From securing loose ends to shaping and blocking, these steps are essential to give your hat a polished look.
Securing Loose Ends
To prevent unraveling, secure any loose ends by weaving them in with a tapestry needle.
Blocking And Shaping Your Hat
Blocking your hat will help it maintain its shape. Use a blocking board or form to shape it perfectly.
Care And Maintenance
Proper care is essential to maintain the quality and longevity of your handcrafted crochet hat. By following these simple steps, you can ensure that your hat stays in great condition for a long time.
Washing And Drying Your Crochet Hat
To wash your crochet hat, handwashing is recommended over machine washing. Use mild detergent and lukewarm water.
- Soak the hat in the soapy water for a few minutes.
- Gently squeeze the suds through the hat without wringing it.
- Rinse the hat thoroughly with cool water to remove all soap residue.
To dry your hat, gently press out the excess water using a towel. Reshape the hat and lay it flat on a clean, dry surface to air dry.
Storing Your Handcrafted Accessory
When storing your crochet hat, avoid hanging it as this can cause it to lose its shape. Instead, lay it flat in a drawer or on a shelf.
| Storage Tips: |
|---|
| Avoid storing in direct sunlight to prevent fading. |
| Place tissue paper inside the hat to help maintain its shape. |
| Store in a cool, dry place to prevent mold and mildew. |
Next Steps In Your Crochet Journey
Ready to take your crocheting skills to the next level? Here are some exciting paths you can explore on your crochet journey:
Exploring More Complex Patterns
Challenge yourself by delving into intricate crochet patterns that elevate your skills.
Experiment with advanced stitches like the popcorn stitch or cable stitch.
Try multi-color projects or intricate lace designs to enhance your expertise.
Joining Crochet Communities
Connect with fellow crochet enthusiasts to share tips and tricks, and gain inspiration.
Participate in online forums or local crochet groups to exchange ideas.
Attend crochet workshops or events to learn new techniques and make friends with similar interests.
Frequently Asked Questions
How Do I Start Crocheting A Hat?
To start crocheting a hat, begin by selecting your yarn and crochet hook, then create a foundation chain and join it to form a ring. After that, work in the round to build the hat’s height and shape.
What Are The Best Yarns For Crocheting Hats?
For crocheting hats, it’s best to use medium to bulky weight yarns such as acrylic, wool, or cotton blends. These yarns provide warmth, durability, and a variety of colors to create stylish and comfortable hats.
Can I Customize The Size Of The Crochet Hat?
Yes, you can customize the size of a crochet hat by adjusting the number of stitches in the foundation chain and the height of the hat. This allows you to create hats of different sizes to fit adults, children, and even babies.
Conclusion
Mastering the art of crocheting a hat opens up a world of creativity. With practice, patience, and dedication, you can craft beautiful and unique hats for yourself and loved ones. Remember, each stitch tells a story, making every hat a work of art.
Happy crocheting!