To connect a Brother printer to WiFi, access the network settings and choose your wireless network. Enter the password and complete the setup.
In today’s digital age, having a reliable wireless connection for your devices is essential. When it comes to printers, connecting them to WiFi allows for convenient printing from various devices without the hassle of cables. Brother printers are known for their quality and efficiency, and setting them up on a wireless network is a straightforward process.
By following a few simple steps, you can have your Brother printer ready to use over WiFi in no time. Let’s explore the easy and efficient method of connecting your Brother printer to WiFi for seamless printing experience.
Introduction To Wireless Printing
Wireless printing allows for convenient printing from various devices. To connect a Brother printer to Wi-Fi, access the printer’s settings, select the Wi-Fi network, and enter the password. This seamless process enables hassle-free printing from smartphones, tablets, and computers.
Gone are the days when we had to rely on USB cables to connect our printers to our devices. Thanks to wireless printing, we can now print from anywhere in the room or even from another floor of the house. Wireless printing allows us to print from multiple devices, including laptops, smartphones, and tablets, without the need for any cables. In this blog post, we will focus on how to connect your Brother printer to WiFi and the benefits of doing so.
Benefits Of Connecting Your Printer To Wifi
Connecting your Brother printer to WiFi can offer a range of benefits. Some of these benefits include:
- Convenience: With a wireless printer, you can print from anywhere in the room, without the need for a cable connection. You can also print from any device connected to the same network.
- Flexibility: Wireless printing allows you to print from your laptop, smartphone, or tablet, giving you the freedom to print from any device you choose.
- Cost-Effective: A wireless printer eliminates the need for multiple printers, as you can print from any device connected to the network. This can save you money in the long run.
- Time-Saving: Wireless printing eliminates the need for cables, making printing faster and more efficient. You can also print from anywhere in the room, saving you time and effort.
Brother Printers: A Popular Choice For Wireless Printing
Brother printers are a popular choice for wireless printing, thanks to their advanced features and user-friendly design. Brother printers offer a range of wireless connectivity options, including WiFi, WiFi Direct, and NFC, making it easy to connect your printer to your device. Brother printers also offer fast printing speeds, high-quality prints, and a range of features designed to make printing easy and efficient. With a Brother printer, you can enjoy the benefits of wireless printing without any hassle.
Preparation Before Setup
Before setting up your Brother printer on WiFi, it is important to make necessary preparations. This includes ensuring a stable internet connection, gathering the required network details, and checking compatibility with your device. Following these steps will help you seamlessly connect your Brother printer to WiFi.
Gather Necessary Information
Before setting up your Brother printer to wifi, it’s essential to gather all the necessary information for a seamless setup process. This information includes your wifi network name, network security key, and your printer model number. You can find the printer model number on the front or back of the printer or in the user manual.
Check Printer And Router Compatibility
To ensure a successful connection, you need to verify that your Brother printer and router are compatible. Check the printer manual for compatibility information or visit the Brother website for more details. Additionally, ensure that your router supports WPA2 security, which is the recommended security protocol for wireless networks. Once you have gathered all the necessary information and verified the compatibility, you are ready to set up your Brother printer to wifi. Follow the step-by-step instructions provided in the user manual or on the Brother website to complete the setup process.
Summary
In summary, preparing before setup is crucial to ensure a successful connection between your Brother printer and wifi network. Gather all the necessary information and verify compatibility between your printer and router before proceeding with the setup process. Doing so will save you time and ensure a seamless connection.
Getting Started With Brother Printer
Setting up your Brother Printer to connect to Wi-Fi is a simple and straightforward process. Whether you have just purchased a new Brother Printer or want to connect an existing one to your wireless network, this guide will walk you through the steps to get started.
Unboxing And Initial Setup
When you first receive your Brother Printer, the first step is to unbox it and perform the initial setup. Follow these steps:
- Remove the printer from its packaging carefully.
- Remove any protective materials and stickers from the printer.
- Place the printer on a flat and stable surface near your computer or router.
- Connect the power cord to the printer and plug it into a power outlet.
- Turn on the printer using the power button.
- Set your language, date, and time preferences using the printer’s control panel.
- Load paper into the printer’s input tray.
Installing Brother Printer Drivers
In order for your computer to communicate with the Brother Printer, you need to install the necessary printer drivers. Follow these steps:
- Visit the official Brother website and navigate to the support section.
- Search for your specific printer model and download the appropriate drivers for your operating system.
- Once the driver download is complete, locate the file and double-click on it to start the installation process.
- Follow the on-screen instructions to install the drivers.
- Restart your computer after the installation is complete.
Once you have completed the initial setup and installed the printer drivers, your Brother Printer is ready to be connected to your Wi-Fi network. Make sure your printer and computer are on the same network, and follow the instructions provided by Brother to establish the wireless connection.
Step-by-step Connection Process
Connecting your Brother printer to Wi-Fi is a straightforward process that allows you to print wirelessly from various devices. Follow these simple steps to establish a seamless connection.
Accessing The Network Settings On Your Printer
Begin by accessing the network settings on your Brother printer. Locate the ‘Menu’ button on the printer and press it to access the menu options. From the menu, select ‘Network’ and then choose ‘WLAN.’ Once in the WLAN menu, select ‘Setup Wizard’ to initiate the wireless setup process.
Selecting The Wi-fi Network
After launching the Setup Wizard, your printer will start scanning for available Wi-Fi networks. Once the scanning is complete, a list of available networks will be displayed. Select your desired Wi-Fi network from the list and enter the network password if required. Ensure that you choose the correct network and input the password accurately to avoid connectivity issues.
Using Wps For Easier Connection
For an easier connection, utilize WPS to connect your Brother printer to WiFi. Simply press the WPS button on your router and then on the printer to establish a secure wireless connection without the need for a password. This method streamlines the setup process and ensures a hassle-free connection.
What Is Wps And How Does It Work
WPS, or Wi-Fi Protected Setup, is a feature that allows you to connect your Brother printer to a Wi-Fi network with ease. It simplifies the process by eliminating the need to enter complicated network passwords. WPS works by establishing a secure connection between your printer and the Wi-Fi router using a PIN or by pressing the WPS button on both devices simultaneously.
Connecting Using The Wps Button
To connect your Brother printer to Wi-Fi using the WPS button, follow these simple steps:
- Ensure that your printer is turned on and in a ready state.
- Locate the WPS button on your Wi-Fi router.
- Press and hold the WPS button on your router until the light starts blinking.
- On your Brother printer, navigate to the network settings menu.
- Select the WPS option and press the OK button.
- The printer will search for available Wi-Fi networks.
- Once the printer detects the Wi-Fi network, it will prompt you to press the WPS button on the router.
- Press the WPS button on the router within two minutes of the printer’s prompt.
- The printer will establish a secure connection with the Wi-Fi network.
- Once connected, a confirmation message will appear on the printer’s display.
By using the WPS button, you can quickly connect your Brother printer to a Wi-Fi network without the hassle of entering lengthy network passwords. It simplifies the setup process, making it easier for anyone to connect their printer wirelessly. Remember, not all printers support WPS, so ensure that your Brother printer has this feature before attempting to connect using the WPS method. Refer to your printer’s user manual for specific instructions on how to connect using WPS if the above steps do not apply to your model. Connecting your Brother printer to Wi-Fi using WPS is a convenient option that saves time and ensures a secure connection. Give it a try and enjoy the benefits of wireless printing.
Manual Wifi Setup
When it comes to setting up your Brother printer on a wireless network, the manual wifi setup process can be a straightforward solution. By navigating the printer’s menu and entering wifi credentials manually, you can easily connect your Brother printer to wifi without the need for any additional software or drivers.
Navigating The Printer’s Menu
Start by navigating to the printer’s menu using the control panel. Look for the “Settings” or “Setup” option, and then select “Network” or “Wifi” to begin the wifi setup process.
Entering Wifi Credentials Manually
Once you’ve accessed the wifi settings, select “Manual Setup” to enter the wifi network name (SSID) and password. Use the printer’s keypad or touchscreen to input the wifi credentials, ensuring that they are entered correctly to establish a secure connection.
Troubleshooting Common Issues
In troubleshooting common issues when connecting your Brother printer to WiFi, it’s essential to address common problems that may arise during the setup process.
Resolving Connection Failures
One common issue is when the printer fails to establish a connection with the WiFi network.
- Ensure the printer and router are within range.
- Check for any obstructions blocking the WiFi signal.
- Verify the WiFi network name and password are entered correctly.
Printer Not Found On Network
If your printer is not found on the network, follow these steps to troubleshoot:
- Restart the printer and router.
- Verify the printer is connected to the same network as the computer.
- Update the printer’s firmware to the latest version.
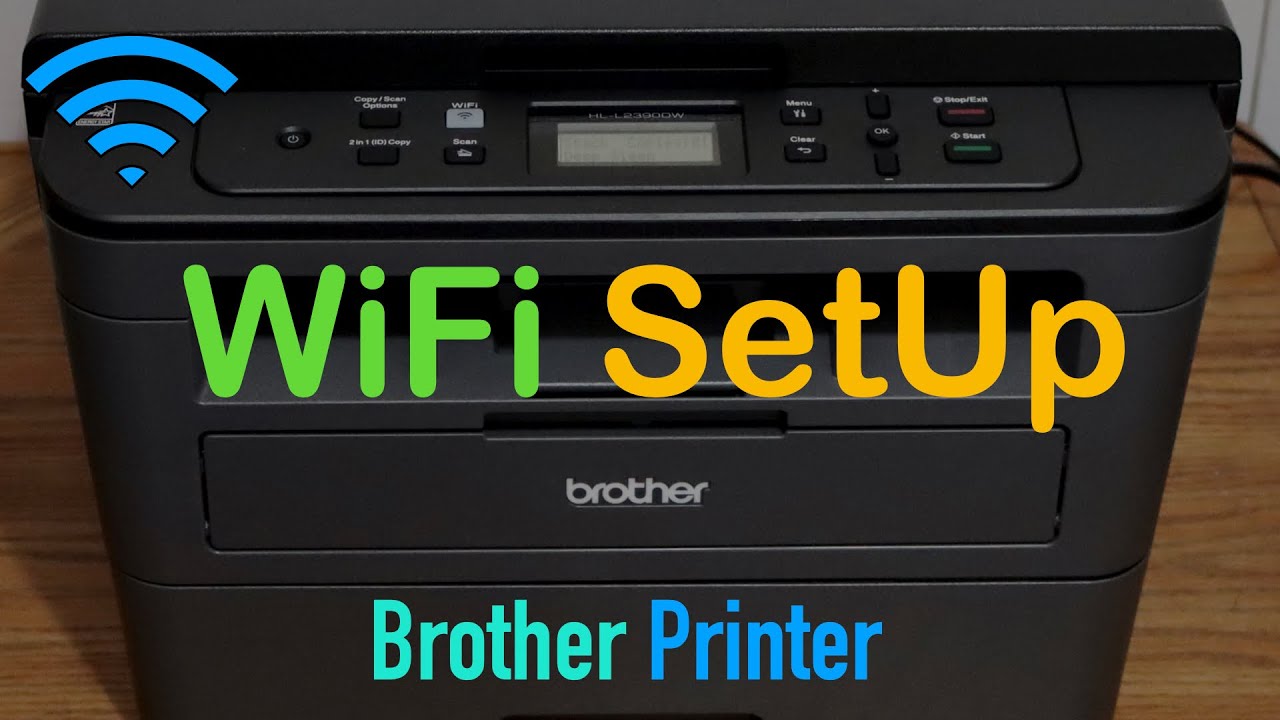
Credit: m.youtube.com
Final Steps And Test Print
Confirming Connection Success
After connecting your Brother printer to Wi-Fi, ensure the connection is successful:
- Access printer settings on the control panel.
- Select ‘Network’ or ‘Wi-Fi’ settings.
- Check for ‘Connected’ status next to your network name.
- Restart the printer to apply changes if needed.
Performing A Test Print
To check if the printer is working:
- Open a document or image on your device.
- Select ‘Print’ and choose the Brother printer.
- Initiate the print command and check for any errors.
- If successful, celebrate your connected Brother printer!
Advanced Features And Mobile Printing
When it comes to setting up your Brother printer for wireless printing, it’s essential to explore the advanced features and mobile printing options available.
Exploring Brother’s Mobile Connect App
Brother’s Mobile Connect App allows you to print from your smartphone or tablet with ease.
Setting Up Cloud Printing Capabilities
With cloud printing, you can conveniently print documents from anywhere, even when you’re not at home.
Credit: viableimaging.com
Maintaining Your Wireless Printer
Maintaining Your Wireless Printer is crucial for ensuring optimal performance and longevity. By following best practices, you can keep your Brother printer connected to wifi seamlessly.
Regular Firmware Updates
Stay up to date with regular firmware updates to enhance security and functionality.
Optimizing Printer Performance
Optimize printer performance by adjusting settings for quality and speed.
Credit: medium.com
Frequently Asked Questions
How Do I Connect My Brother Printer To Wifi?
To connect your Brother printer to WiFi, you need to follow these steps:
1. Press the Menu button on your printer and navigate to the Network option. 2. Select the WiFi setup wizard and choose your network name. 3. Enter your WiFi password when prompted. 4. Wait for the printer to connect to the WiFi network. 5. Once connected, you can start printing wirelessly.
Can I Connect My Brother Printer To Wifi Without A Computer?
Yes, you can connect your Brother printer to WiFi without a computer. Follow these steps:
1. Turn on your Brother printer and press the Menu button. 2. Navigate to the Network option and select the WiFi setup wizard. 3. Choose your network name and enter the WiFi password. 4. Wait for the printer to connect to the WiFi network. 5. Once connected, you can print directly from your mobile device or other compatible devices.
What Do I Do If My Brother Printer Won’t Connect To Wifi?
If your Brother printer won’t connect to WiFi, try the following troubleshooting steps:
1. Make sure your WiFi network is working properly and other devices can connect to it. 2. Restart your printer and WiFi router. 3. Check if your printer’s firmware is up to date. 4. Ensure that the WiFi password you entered is correct. 5. If the problem persists, consult the Brother printer support or contact your network administrator for further assistance.
How Can I Check If My Brother Printer Is Connected To Wifi?
To check if your Brother printer is connected to WiFi, follow these steps:
1. Press the Menu button on your printer and navigate to the Network option. 2. Select the WLAN option and choose the TCP/IP or IP address option. 3. Check if the IP address displayed matches the one assigned to your printer. 4. If the IP address is correct, it means your printer is connected to WiFi.
Conclusion
Connecting your Brother printer to Wifi is a straightforward process that offers convenience and flexibility. By following the steps outlined in this guide, you can ensure a seamless setup and enjoy wireless printing from various devices. Embracing this technology can enhance your productivity and streamline your printing experience.